We all know how a once modest collection of photography props can suddenly become a full on stock room. It can be difficult to resist that antique platter or perfect wooden spoon, but underneath the piles of napkins and crockery is your collection seriously lacking in food photography backdrops? If you need easy to move, versatile wooden backdrops to really transport viewers to a multitude of different worlds – here is a way to create your very own wooden backdrop to elevate your food photography and compliment your prop styling.
I made my food photography backdrop using two planks of timber with the final surface measuring up at around 60x80cm. However, you can use this method to create any sized backdrop you wish. I decorated each side in a different style – one side is rustic brown and the other side is distressed white. Personally, I use both sides as a surface or a background – not only is this a pretty handy space saver but I love the nifty reversible design.
Materials

- x 2 Timber Planks (each plank 10cm x 2.4m / each divide into three 800mm planks)
- x 1 Small Timber Wood Pole (2.4 m)
- Paint Brushes
- Saw
- Dark Brown Varnish
- White Paint (I used two sample pots)
- Gloves
- Protective Glasses
- Tape Measure
- Sand Block
- Wood Glue
- Dust sheet
- Electric Screwdriver
- Newspaper to protect the table
- Wood screws (Calculate the size you need – they need to be drilled through the small timber pole and half way through the timber plank so measure up beforehand)
- Damp Cloth for distressing the white paint
- Sample wood for testing your chosen varnish and colours
12 Steps to Beautiful Food Photography Backdrops
- Measure the two timber planks into six equal planks using a tape measure.
- Cut the planks with a saw – remember to do this safely and wear eye protection!

- Cut and measure the small timber pole into two pieces to fit across the width of the planks.
- Cover a table with newspapers, then line up the six wooden planks side by side.
- Prepare the wood by sanding down any rough edges, eradicating any splintered wood. Then wipe the wood with a damp cloth (Use your dust cloth and protect your eyes when doing this).

- Once the wood is dry, paint one side of the planks with your chosen varnish. Wait for it to dry and then paint a second coat.

- Once the wood is dry, turn the planks over and paint the other side with three coats of varnish allowing each coat to dry fully in-between (I did three coats as I wanted to expose a very dark colour underneath when distressing).

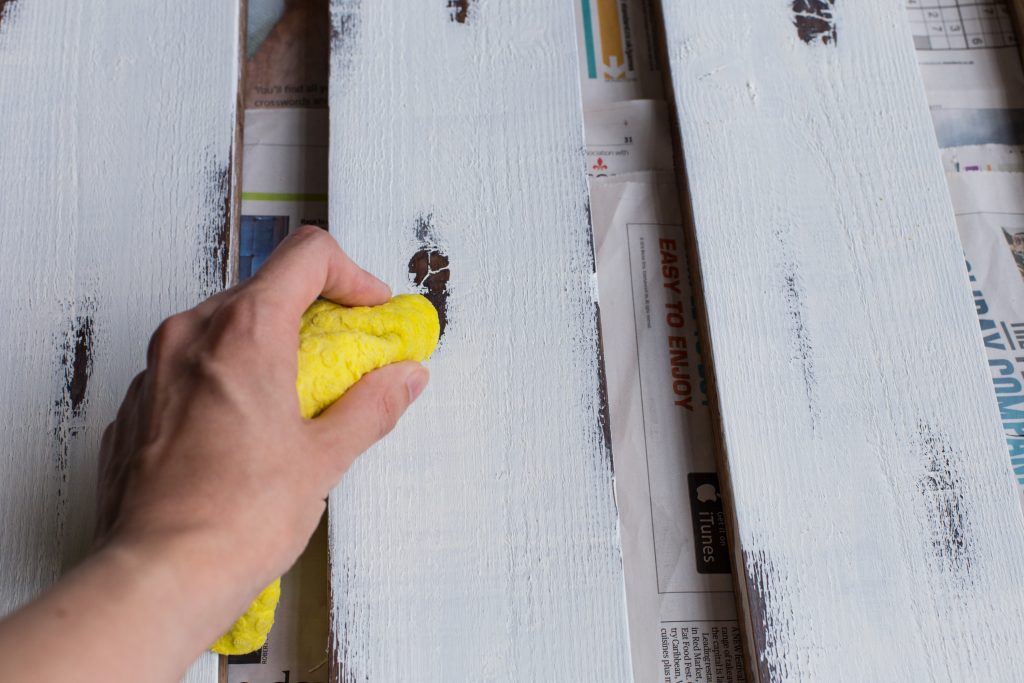
- On the same side, paint over the three coats of varnish with two layers of white paint allowing the first layer to dry fully before applying the second layer.

- Before the second layer of white paint is fully dry, grab a damp cloth and start rubbing the paint off sporadically to expose the varnish underneath. This will create a vintage distressed effect.
- Paint the two small pieces of timber the same colour as the wood you are going to stick them to (so in my case it is white).
- Apply the wood glue to the two small pieces of timber and stick them across the top and bottom of the planks, then wait for it to dry.
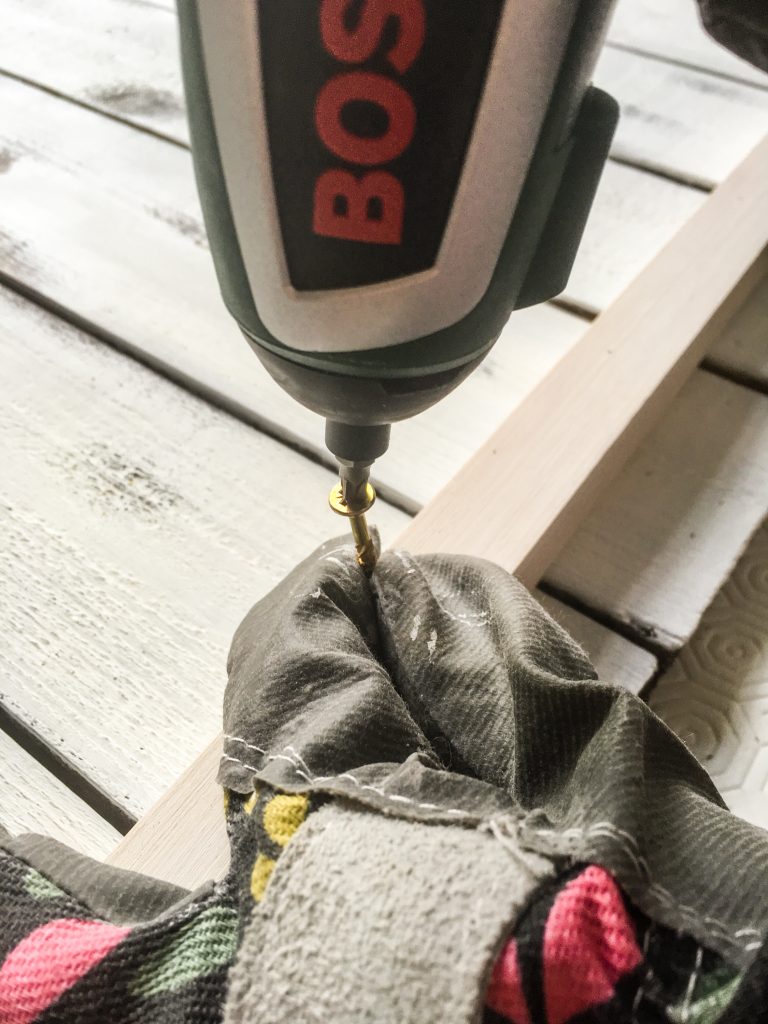
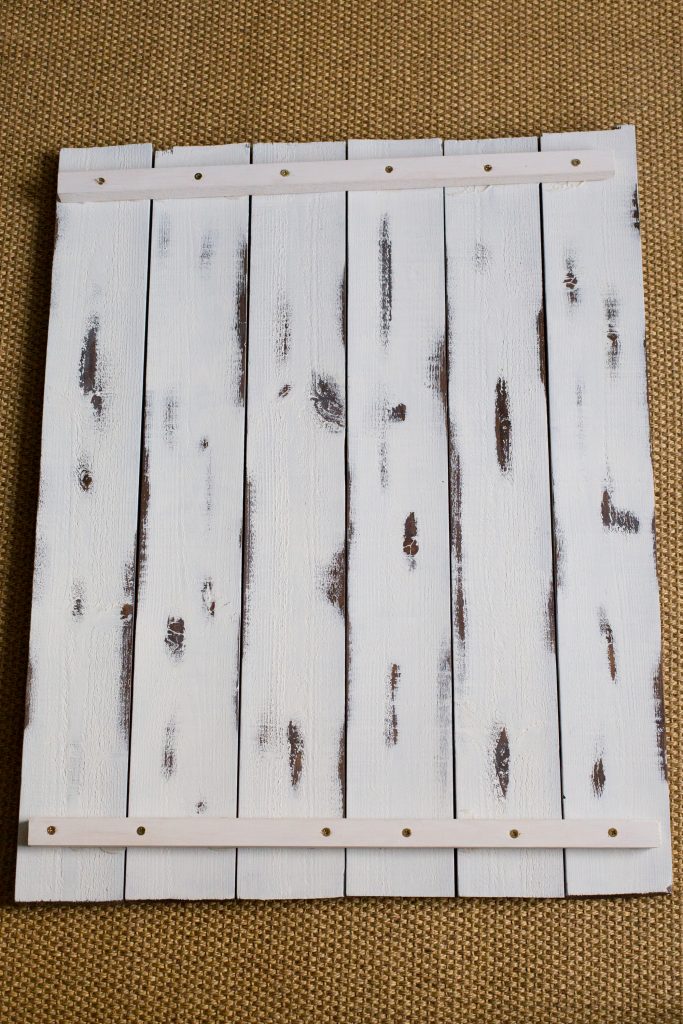
- Grab your electric screwdriver plus the wood screws and further secure the small pieces of timber in place by screwing them into each plank of wood (remember to do this safely by protecting your eyes).
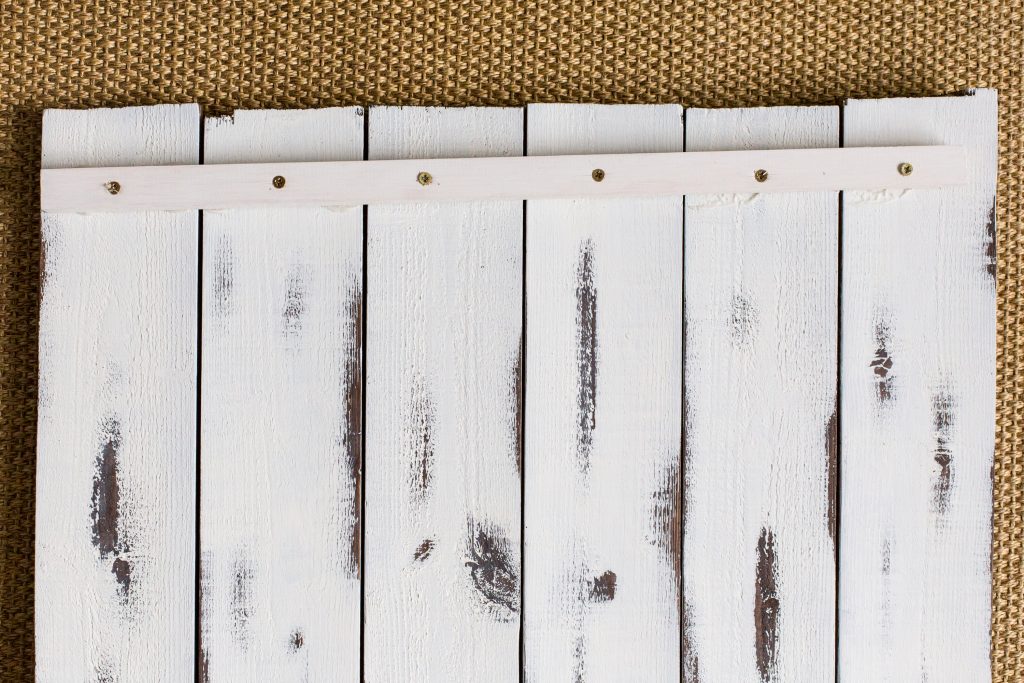
- This is what the top of the backdrop should look like once it has been secured with the nails…
FINITO!
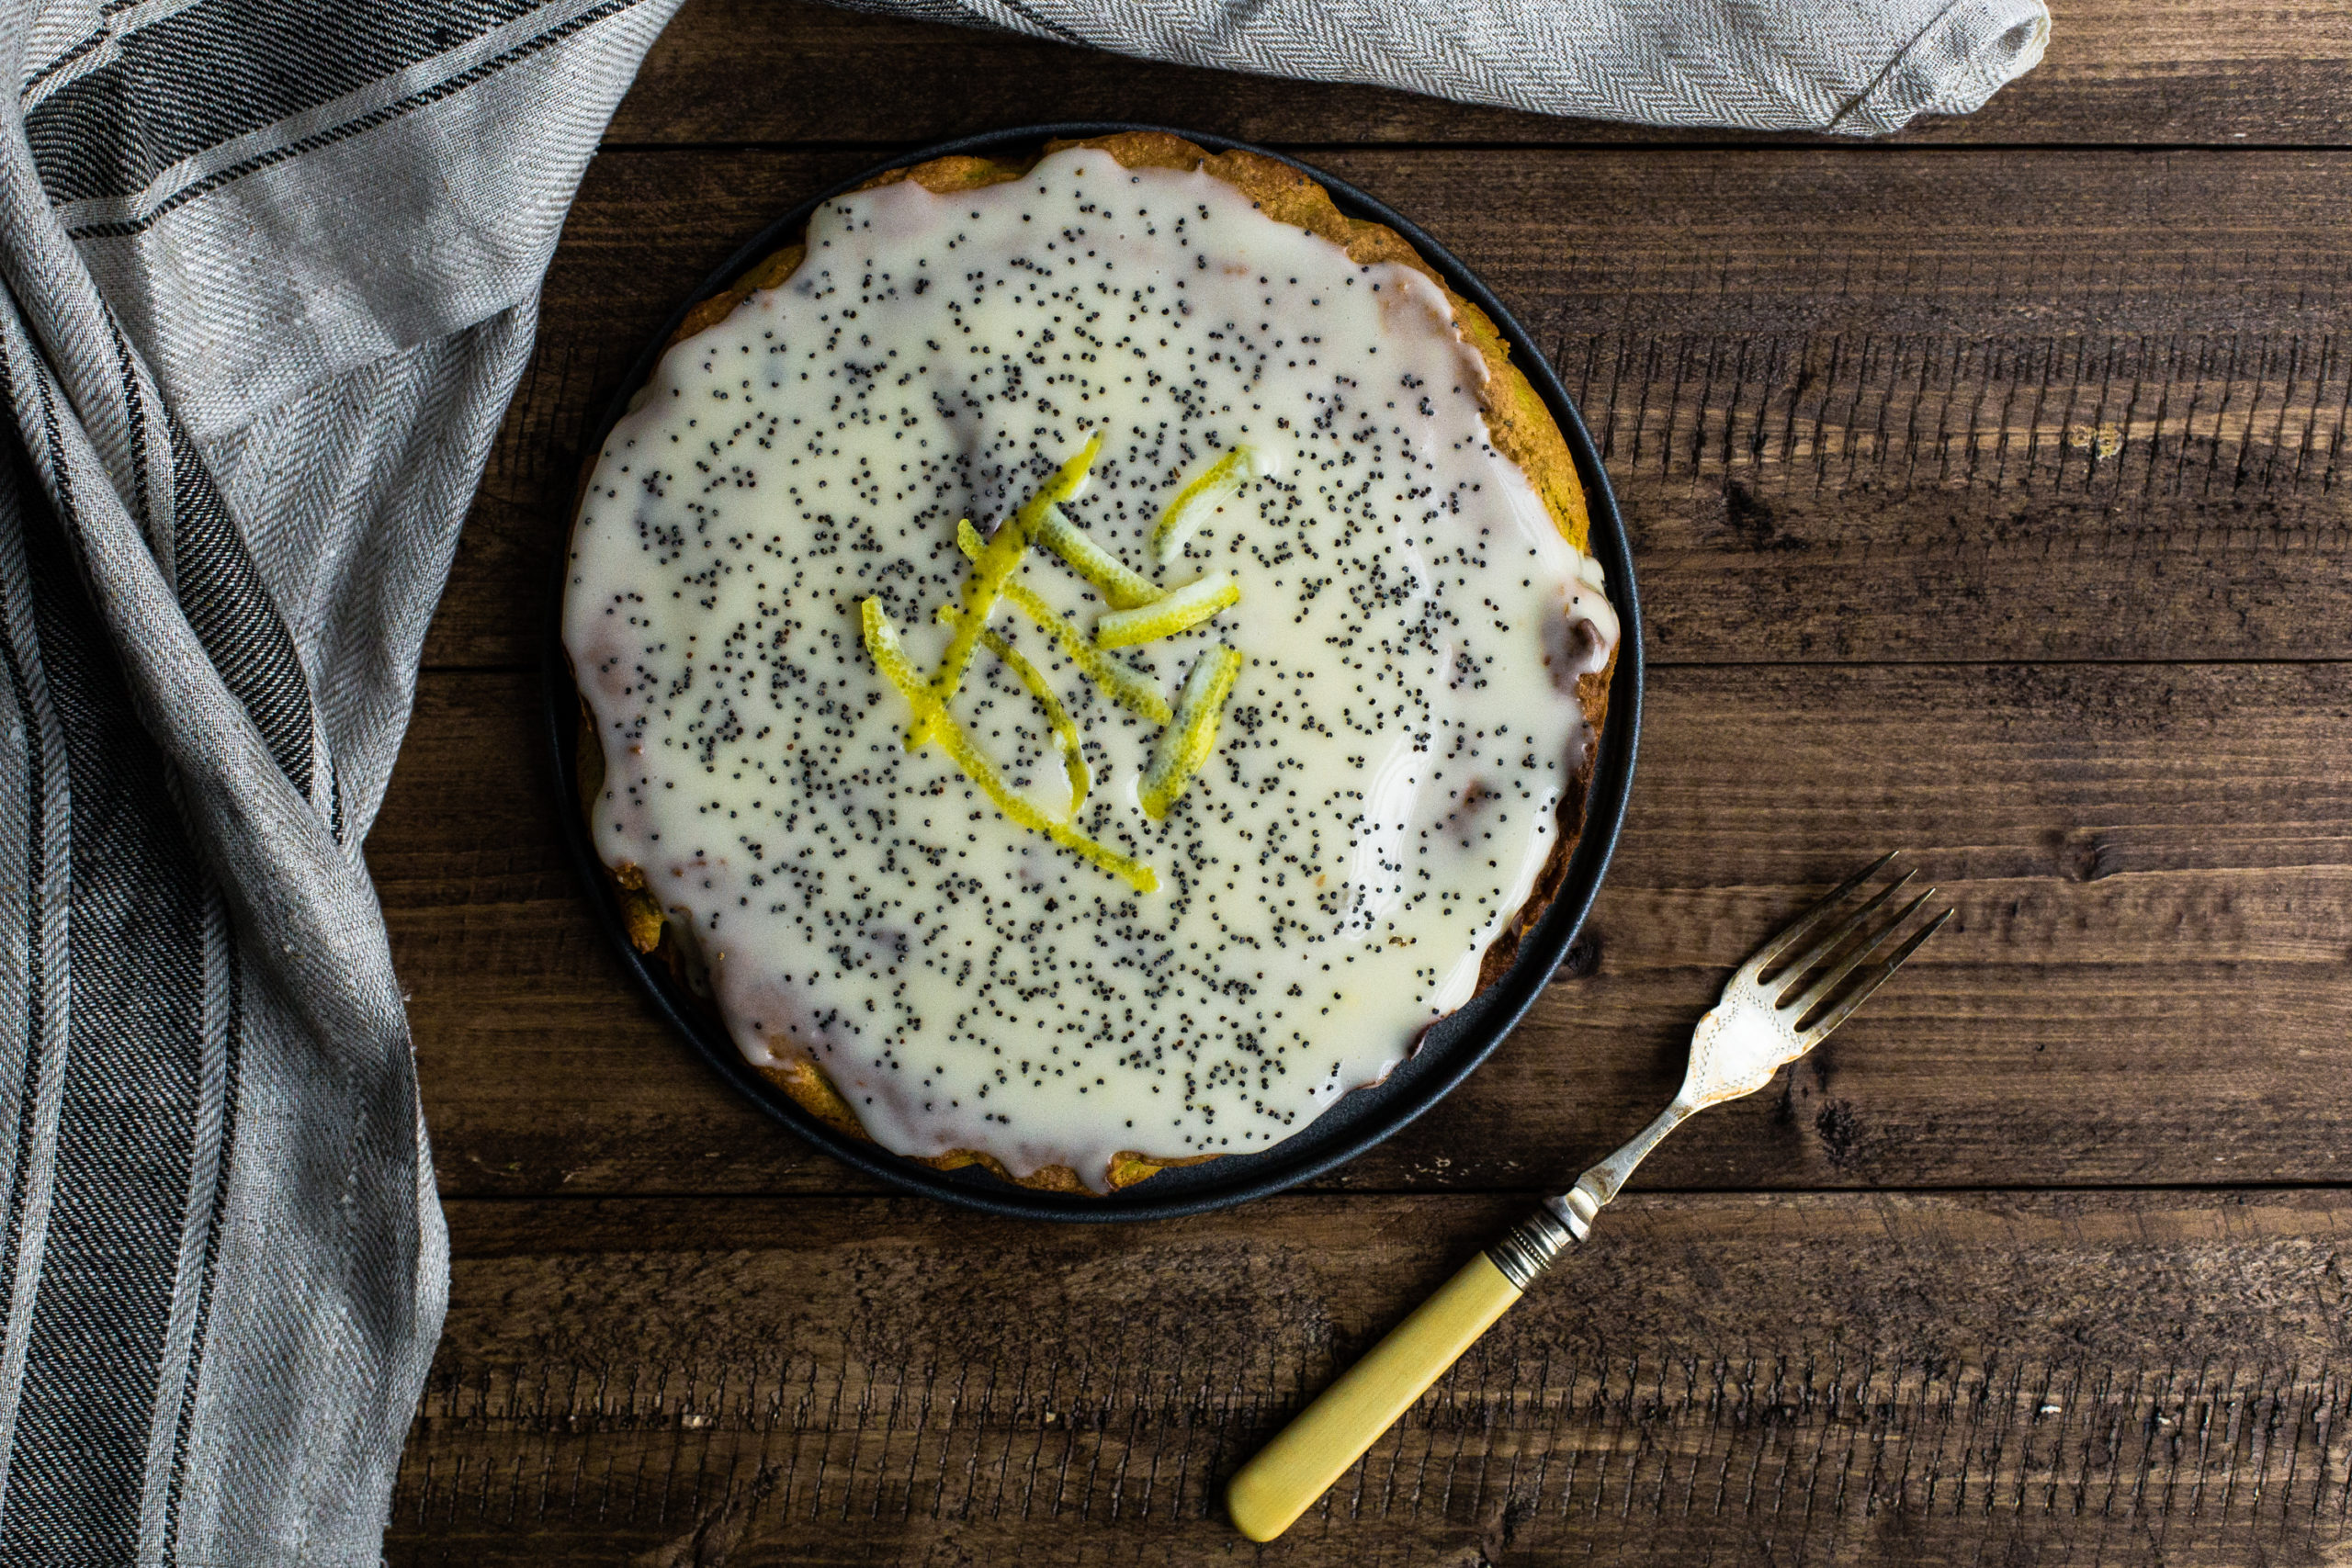
Here are the finished food photography backdrops:
Front : Antique Rustic Brown Style

Back : Vintage White Distressed Style
TA-DA!